
Visual study tools
Anatomy Concept Map: Connect Structures, Levels and Functions
An anatomy concept map can help you explain how a structure fits into a larger system. Use the examples below to connect levels and functions, while keeping a proper anatomical diagram beside you for shape and location.
Create a study diagramA worked visual example
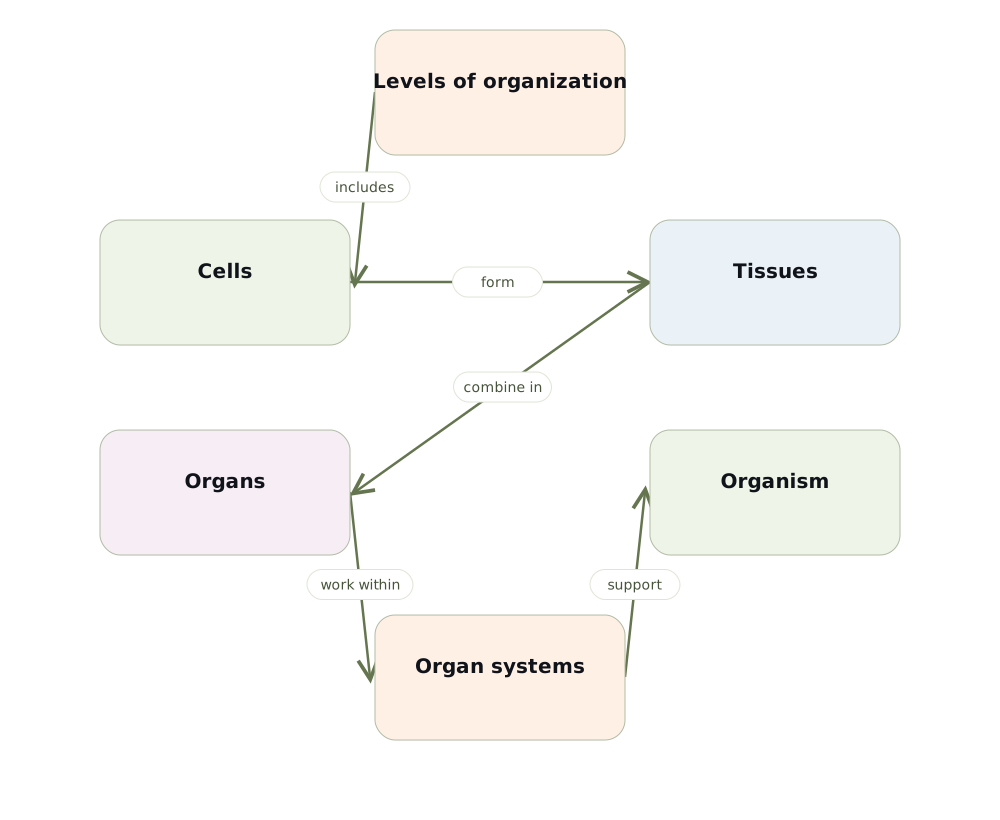
Start with one level of organization
Choose a body region, an organ system or the relationship between organizational levels. A single map trying to cover all anatomy usually becomes difficult to read. Begin with a small learning objective and add details only when they help explain that objective.
Worked example: levels of organization
Connect cells to tissues, tissues to organs, and organs to organ systems. This is an organizational model, not a literal drawing of one structure enclosing another at the same scale. Use the source’s definitions to explain how the levels differ and what belongs at each level.
Connect structure with function carefully
Choose one structure from your course and add a supported function with a precise relationship phrase. Keep location, composition and function on separate branches so they are not mistaken for one another. If a structure has several functions, preserve the conditions and context described in the source.
Combine the map with image-based practice
Use a relevant labeled course image when you need spatial orientation. On the concept board, attach an image to the card it explains rather than leaving it disconnected. Test yourself by naming a structure on the image and then explaining its relationship to another concept without looking at the map.
Test your understanding
- Am I describing a location, a composition or a function?
- Can I explain why an organ differs from an organ system?
Build a map from your own material
Choose Visualize in Memorizite before uploading your document. One generation uses one scan. Review the draft, edit its explanations and relationship labels, move cards and add relevant card images. Export a PDF of the full diagram when you want a study copy. The layout depends on your source; this guide does not promise an identical generated result.
Check the science
Use your assigned course source as the reference. For additional background, see the relevant OpenStax textbook chapter. This guide and its diagram are original study scaffolds, not reproductions of a textbook figure.
Check the relationships before studying
Create a study diagram